
 By
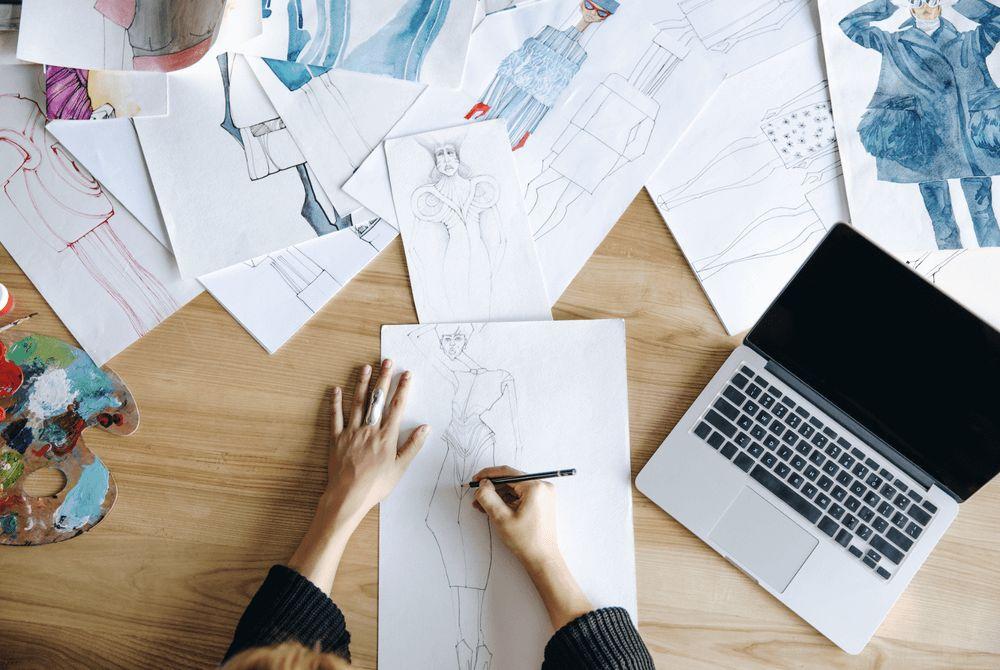
Every outstanding fashion collection starts out as an idea, a dream just waiting to come true. The process from concept to catwalk is a complex and thrilling one in the world of clothing manufacture. Understanding this process is essential to transforming your creative idea into an actual, commercial collection, regardless of your level of experience as a designer.
A fashion collection is a deliberately chosen assortment of clothing that is intended to be shown collectively and reflects a unified theme, style, or idea. It’s not just about the parts; it’s also about how they work together to create a narrative. Before shining on the catwalk, every collection—from high-end couture to ready-to-wear—goes through a cycle of ideation, design, production, and marketing.
Fashion collections are incredibly diverse. Seasonal collections offer new designs for Spring/Summer and Autumn/Winter in line with the fashion calendar. Capsule collections offer a limited-edition selection that is frequently centered around a particular topic or objective. Then there is haute couture, where handmade, custom pieces exhibit the highest level of artistry and skill.
Below we will talk about the process involved in creating your garment and taking it to the store.
Research and Inspiration
Every collection starts with research and inspiration. Designers immerse themselves in trend forecasting, cultural themes, and artistic influences. Whether it\’s a historical era, a work of art, or a natural phenomenon, the key is to translate this inspiration into a wearable form.
Create Sketches
Sketching is where ideas begin to take shape. Using a combination of digital tools and traditional hand-drawing techniques, designers experiment with silhouettes, details, and textures. These sketches are the blueprints for what will become the final garments.
Design and Development
In this phase, sketches evolve into prototypes. Working closely with design manufacturers, designers refine their concepts, select fabrics, and experiment with different cuts and constructions. This collaborative process is crucial to ensure that the designs are not only aesthetically pleasing but also practical and manufacturable.
Costing and Budgeting
Cost is a critical factor in clothing production. Designers must balance creative aspirations with financial realities, determining the cost of materials, labor, and other resources. Effective budgeting ensures that the collection is financially viable without compromising on quality.
Production Planning
Once the designs are finalized, production planning begins. This involves scheduling, resource allocation, and coordination with apparel manufacturers. Good planning is essential to meet deadlines and ensure that the manufacturing process runs smoothly.
Pattern Making
Pattern-making is an art in itself. Expert pattern makers translate design sketches into patterns that will be used to cut the fabric. This step is crucial for achieving the right fit and style of the garments.
Fabric and Trim Sourcing
Sourcing the right fabric and trims is pivotal. Designers seek out the best textile manufacturers in the USA and globally, focusing on quality, sustainability, and suitability for their designs. The choice of fabric can significantly influence the look and feel of the final garment.
Quality Control
Quality control is integral in garment manufacturing. This process ensures that each piece meets the brand’s standards. From the stitching to the final fit, each detail is scrutinized for excellence.
Sizing and Measurement Guide
Accurate sizing is essential for the wearability of a collection. Designers develop comprehensive sizing and measurement guides to ensure that their garments fit a range of body types, adhering to industry standards and market expectations.
Cutting Process
The cutting process is where the fabric is transformed into garment pieces. Precision and skill are crucial here, as the way fabric is cut can affect the drape and fit of the finished garment.
Know Your Target Audience
Understanding your target audience is key to a successful collection. Designers must be attuned to the preferences, lifestyles, and needs of their intended customers, ensuring that their collection resonates and meets market demand.
Final Pricing and Branding
Finalizing pricing involves considering production costs, market positioning, and perceived value. Branding, on the other hand, is about creating a unique identity and narrative for the collection, essential for marketing and establishing a connection with the audience.
The journey from concept to catwalk is a testament to the creativity, skill, and dedication involved in bringing a fashion collection to life. By understanding and mastering these steps, designers, and brands can turn their visionary ideas into successful, impactful collections.
How Clothes Are Made
1. Patterns – Paper vs Digital
The clothes manufacturer immediately pointed out that our paper patterns would need to be digitized for sampling and proper production because several tasks cannot be completed with just paper patterns. Having sewing patterns as a file instead of on paper makes sense in today’s digital age. Our paper patterns were transferred to a big board, known as the digitizer, by the manufacturer’s pattern maker. In our instance, the manufacturer used the Assyst software, which enabled the pattern creator to enter the paper patterns into their own system.
Read Also: How to Secure Funding for Your Fashion Startup
A handheld gadget that recorded the pattern’s position for each dot was used to pace each pattern component. Until all the data was gathered and our pattern showed up in their software, they circled the entire pattern piece. Because some clothing has tens of panels, this process takes a long time. We were fortunate to have so few.

2. Sorting out the patterns after digitising
Now that the pattern was in their system, the pattern creator could easily correct a few minor flaws and rough spots. The pattern creator can make precise adjustments and modifications by working with digital designs. Every measurement modification is monitored and seen in real time. By the way, if we approved the generated samples, the same collection of patterns would subsequently be utilized to grade to different sizes. The same program is used for size grading.

3. Lay-plan: Getting patterns ready for production
Printing the patterns on a plotter was the next stage. In order to accomplish this, the factory specialist had to create a correct lay-plan, which required arranging all pattern blocks in a particular order (in our case, sampling), taking into account factors such roll width, fabric length, and the total number of products to be manufactured with a breakdown of sizes. It was completed swiftly as their system now had patterns. In order to maximize the usage of the fabric and minimize fabric consumption, the lay-plan program then recommended the ideal arrangement of these geometric forms (patterns) given the quantity we had and other factors. There was still space for improvement even though the software performed this very well.


A competent expert, such as the one we had, might identify this and enhance the arrangement that the expert program recommended. The factory specialist rearranged the plan till they were satisfied that it was flawless. We were informed that a fabric utilization efficiency of between 70 and 80 percent is ideal. Efficiency will always be higher in manufacturing when there is a greater range of sizes and more tiny pattern part details.
Keep in mind that there can be significant differences in the amount of fabric used for a sample and volume manufacture of the same item. Imagine playing the classic game of Tetris, where you stack shapes while attempting to avoid blanks and empty spaces.
4. Cutting the fabric
Workers were prepared to cut our cloth after the plotter printed out our patterns from the pre-compiled lay-plan. The unique paper on which the patterns were printed adhered to the fabric flawlessly, preventing anything from slipping while cutting. As the cutting started, we saw that the finer pieces were cut using specialized equipment after the first portion was completed by hand using scissors.
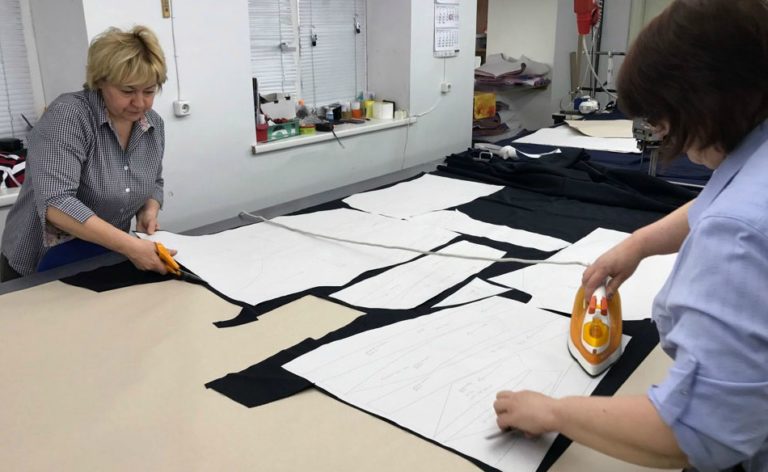
We were informed that while bulk production uses a somewhat different procedure, samples are frequently trimmed by hand. The same kinds of cloth items are cut in abundance and stacked on top of one another like a cake. According to the clothing manufacturer, the fabric’s thickness and composition dictate whether or not it can be cut together.
Cotton and viscose, for instance, cannot be cut simultaneously. The outcome will be uneven since different materials respond to cutting differently and can distort more than others. For this reason, a different cutting job is required even if the composition differs by 1%. As we looked around, we saw that many layers of fabric had already been cut and were prepared for use. Now, let’s return to our samples.
5. Making sets for the seamstresses
All of the cut parts were assembled into sets after the cutting was finished. Similar tasks were put together to maximize production so that workers may become proficient at completing the same task again and save time. Consider how you brush your teeth each and every day. You most likely have a method that has improved your efficiency by now.
6. Colours and Trims
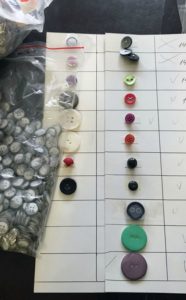
We were instructed to choose the appropriate thread color to match the fabric’s color throughout the fabrication stage. We found the finest matching colors with a little work. There were numerous possibilities available to us. We haven’t even seen every shade offered, and several had very slight variations.
With the exception of elastics, these things did not require trims; however, we observed that the fabric offered a wide variety of buttons, zips, and other accessories.
7. Adjusting the machinery
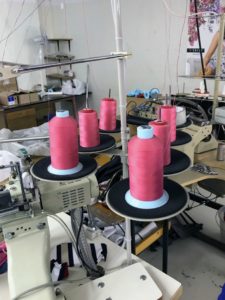
Before beginning to sample, the specialist needed to make adjustments to the equipment. She had her set of cut cloth pieces. Each sewing machine needs to be set up for a certain kind of fabric. She started loading the fresh reels for our samples in the color we selected and discharging the old threads. The seamstress loaded the flat-lock sewing machine with six spools of threads that matched the color of our outfit. To make sure the tension was set and adjusted correctly, she then tested the seam on a piece of fabric.
8. Finally, Sewing
After making sure everything was adjusted correctly, she started assembling the set and stitching the pieces together until we could finally see our design come to life. It was a really thrilling moment!
9. Finishing
She brought the finished goods to the sampling unit to compare the measurements to our specifications. After careful quality control, we tested the samples, gave the go-ahead for grading, and discussed the upcoming bulk manufacturing order. Everything appeared to be in order.
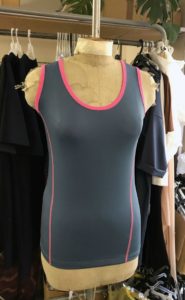
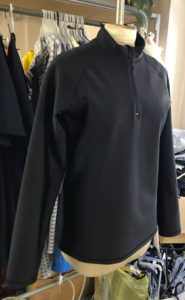
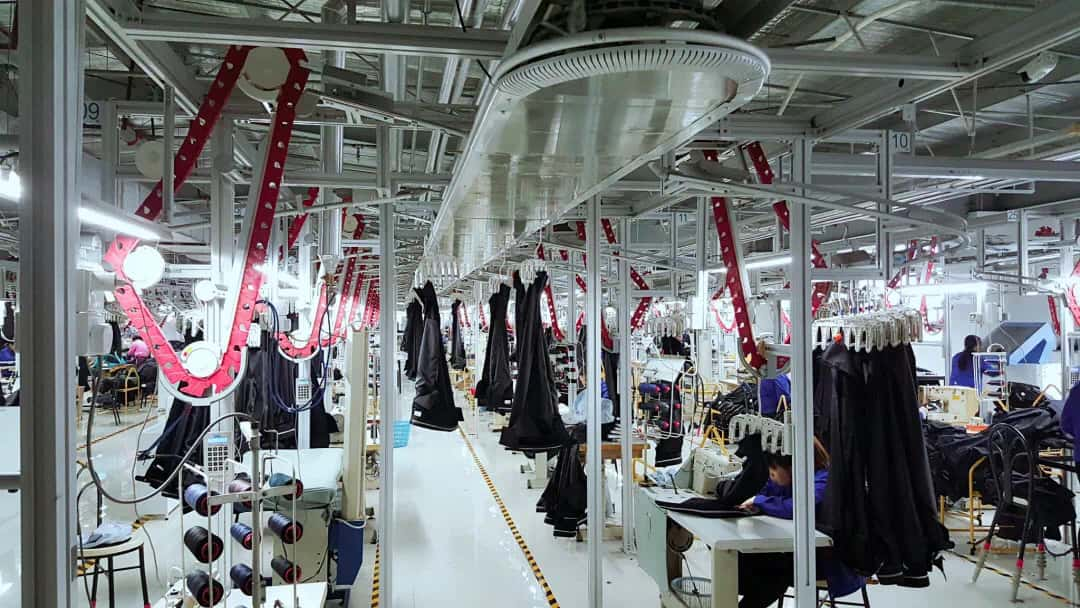
We needed half a day to complete the entire process. Please keep in mind that we were provided committed personnel and that we had access to sampling for the whole day. Our sample passed through five (!) separate departments, including pattern making, plotter layout specialists, components and trims, sampling, and quality control. The team we interacted with during the sampling stage consisted of perhaps five or six individuals.
After witnessing the massive amount of work completed, we realized that, despite our desire to work quickly at a factory, it is just not possible to do everything in an hour. It calls for planning, modifications, and the labor of a committed team.
Finally
- Post-Production
Post-production begins with a thorough quality assurance process to ensure that the final garments meet the highest standards of quality. This step is crucial to maintaining brand reputation and customer satisfaction.
- Final Inspections: Detailed inspections are conducted on finished garments to check for defects such as stitching errors, fabric flaws, and incorrect sizes. This involves both visual checks and physical tests.
- Quality Control Checks: Specific quality control checks are performed, including measuring garment dimensions, testing seam strength, checking color consistency, and ensuring proper labeling and tagging.
- Handling Defects: Any identified defects are documented, and defective garments are either repaired or discarded. The goal is to ensure that only perfect garments reach the market.
- Marketing and Sales
Branding is key, establishing a strong brand identity and creating marketing materials. Effective sales strategies, including e-commerce and in-store promotions, drive sales and enhance brand visibility.
From concept to closet, the garment development process is a painstaking procedure. Success in the cutthroat fashion industry is ensured by comprehending every stage, from design to distribution. Staying ahead of the curve requires constant improvement and adaptation as trends change.







Comments